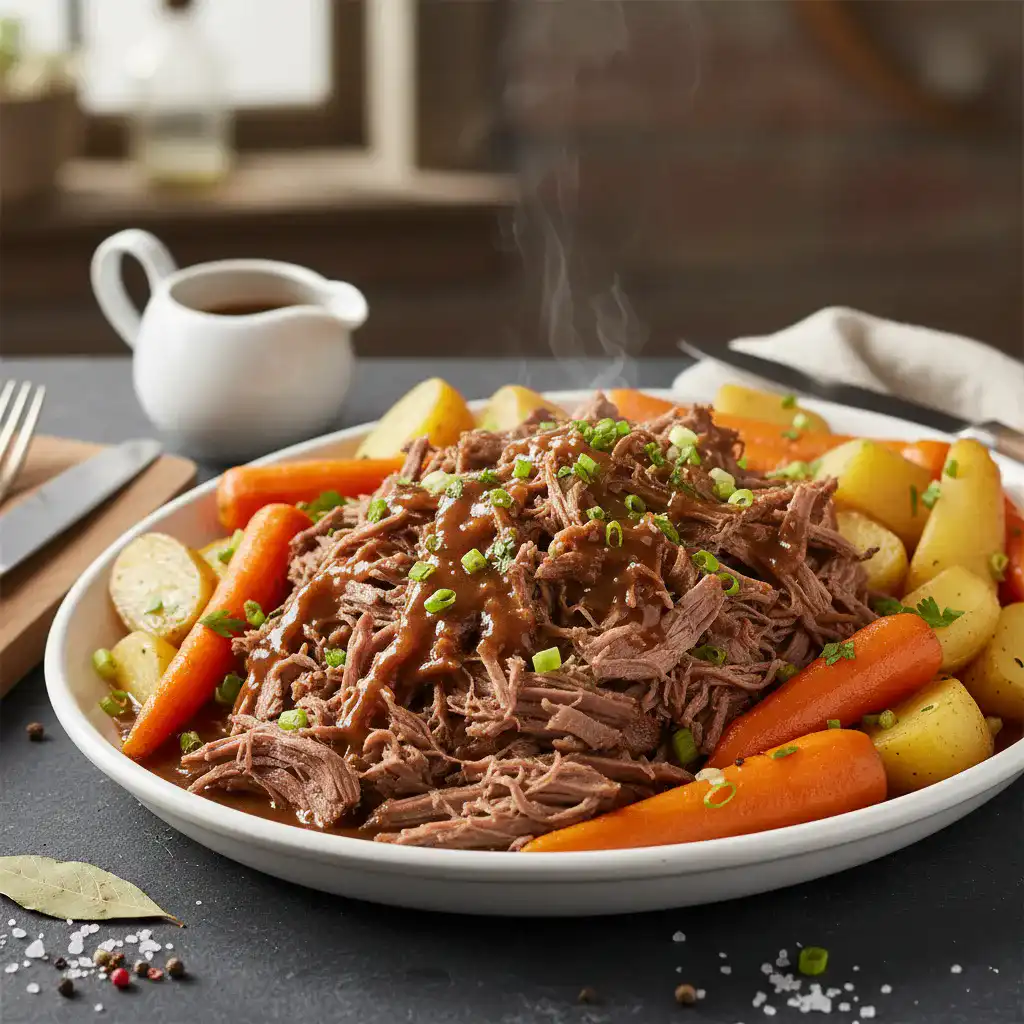
Low FODMAP Slow Cooker Pot Roast
Classic low FODMAP slow cooker pot roast with tender beef and vegetables. Comforting Sunday dinner that's completely safe for IBS.
Instructions
- 1
Pat the beef chuck roast completely dry with paper towels. Season generously on all sides with 1.5 tsp salt and black pepper.
- 2
Heat 1 tbsp garlic-infused oil in a large skillet over medium-high heat.
- 3
Sear the roast for 3-4 minutes per side until deeply browned on all sides. This builds flavor.
- 4
Transfer seared roast to a 6-quart slow cooker.
- 5
In the same skillet, add tomato paste and cook for 1 minute, stirring constantly.
- 6
Add beef broth, Worcestershire sauce, and scrape up any browned bits from the bottom of the pan.
- 7
Pour the liquid mixture over the roast in the slow cooker.
- 8
Add thyme, rosemary, and bay leaves to the slow cooker.
- 9
Toss carrots, potatoes, and parsnips with remaining 1 tbsp oil and 1/2 tsp salt.
- 10
Arrange vegetables around the roast in the slow cooker.
- 11
Cover and cook on LOW for 8-10 hours or HIGH for 5-6 hours, until beef is fork-tender and vegetables are cooked through.
- 12
Remove roast and vegetables to a serving platter. Cover with foil to keep warm.
- 13
Optional: Make gravy by whisking cornstarch and water together, then stirring into cooking liquid. Cook on HIGH for 10 minutes until thickened.
- 14
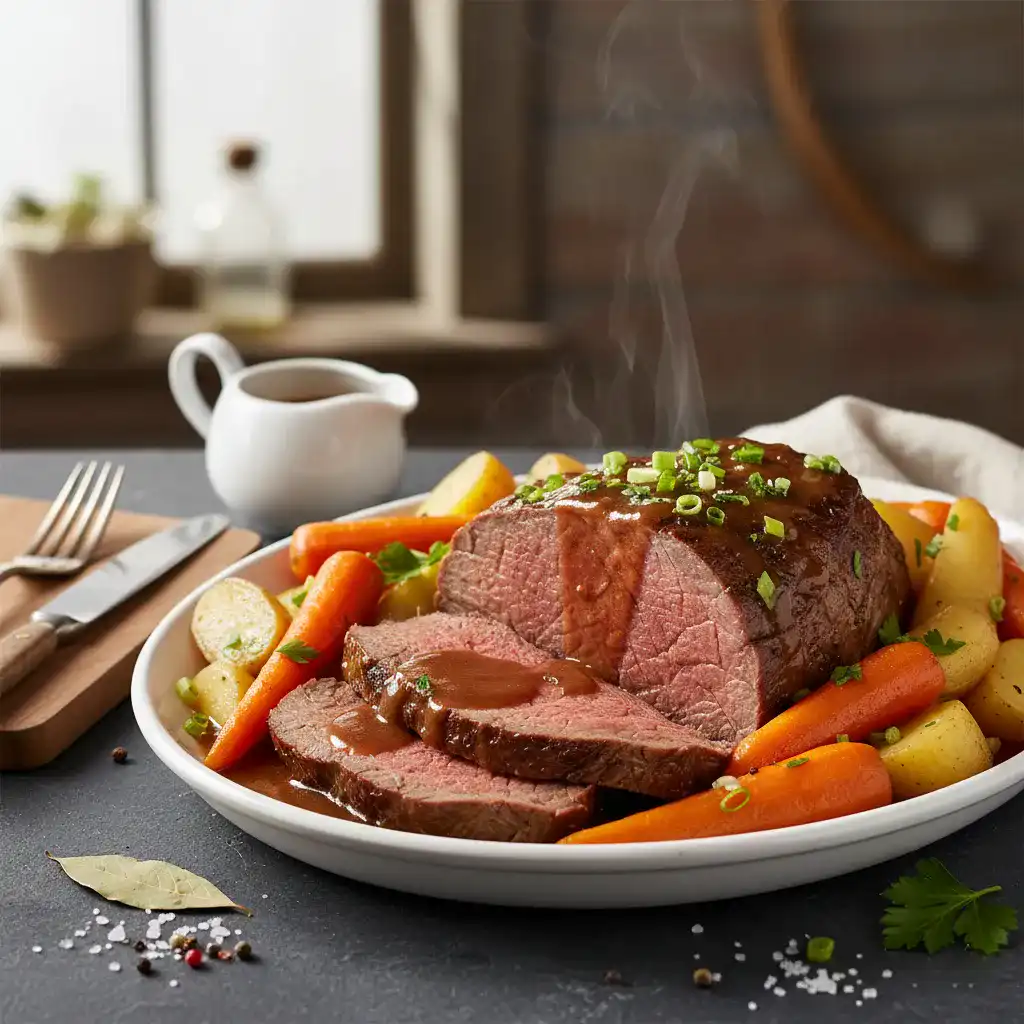
Slice or shred the roast. Remove bay leaves from gravy.
- 15
Serve beef and vegetables with gravy. Garnish with green onion tops and fresh parsley.
FODMAP Notes
Beef is naturally low FODMAP with no FODMAP content. Carrots are low FODMAP at 1/2 cup per serving. Potatoes are low FODMAP at typical serving sizes (1 medium potato). Parsnips are low FODMAP at 1/2 cup per serving. This recipe uses garlic-infused oil which is safe - FODMAPs don't transfer to oil. Tomato paste is safe at 1-2 tbsp total. All herbs are FODMAP-free. Green onion tops (not white parts) are safe. Check Worcestershire sauce ingredients - some brands contain high FODMAP ingredients like garlic or onion. Choose brands with no garlic/onion or omit it.
Tips
- 💡 Don't skip the searing step - it creates incredible flavor through the Maillard reaction
- 💡 Choose a well-marbled chuck roast - fat equals flavor and tenderness
- 💡 Cut vegetables into large, uniform pieces so they don't overcook
- 💡 If your vegetables are tender but meat isn't, remove vegetables and continue cooking meat
- 💡 Let roast rest 10 minutes before slicing for juicier meat
- 💡 Leftovers taste even better the next day as flavors meld
Recipe Notes
This slow cooker pot roast is the definition of comfort food. The beef becomes so tender it falls apart at the touch of a fork, while the vegetables soak up all the rich, savory flavors. It’s the perfect Sunday dinner that fills your house with the most incredible aromas all day long.
Why Slow Cooker Pot Roast?
- Ultimate Comfort Food: Warm, hearty, and satisfying
- Hands-Off Cooking: Just sear and walk away
- Complete Meal: Protein and vegetables in one pot
- Budget-Friendly: Chuck roast is an affordable cut
- Makes Amazing Leftovers: Even better the next day
Choosing the Right Cut
Best Cuts for Pot Roast:
- Chuck Roast: Best choice, well-marbled, becomes incredibly tender
- Chuck Shoulder: Similar to chuck roast, excellent results
- Bottom Round: Leaner, can be slightly less tender
- Brisket: Works well but takes longer to cook
What to Look For:
- Good marbling (white fat throughout the meat)
- 2-4 pounds for best results
- Avoid lean cuts - they’ll dry out
Cooking Time Guide
Low Setting (Recommended):
- 8-10 hours for fall-apart tender beef
- Best for maximum flavor
- More forgiving if you need to leave it longer
High Setting:
- 5-6 hours for tender beef
- Good when you’re short on time
- Monitor more closely to prevent drying
Vegetable Options
Low FODMAP Vegetables (in safe portions):
- Carrots (1/2 cup per serving)
- Potatoes (1 medium per serving)
- Parsnips (1/2 cup per serving)
- Turnips (1/2 cup per serving)
- Rutabaga (1/2 cup per serving)
- Celery root (1/2 cup per serving)
When to Add:
- Hardy vegetables: Add at the beginning
- Quick-cooking vegetables: Add in last 2-3 hours
Serving Suggestions
- Classic: Serve with mashed potatoes and gravy
- Over Noodles: Serve over gluten-free egg noodles
- With Bread: Soak up gravy with gluten-free bread
- In Sandwiches: Shred beef for French dip sandwiches
- As a Bowl: Serve over rice with vegetables
Low FODMAP Side Dishes
- Mashed potatoes (made with lactose-free butter)
- Roasted green beans
- Steamed carrots
- Gluten-free dinner rolls
- Simple side salad
- Roasted Brussels sprouts (small portion)
Storage
- Refrigerator: Store beef and vegetables in gravy in airtight containers for up to 4 days
- Freezer: Freeze in portions with gravy for up to 3 months. Thaw overnight in refrigerator
- Reheating: Microwave with gravy, or reheat in a pot on the stovetop over medium-low heat
FODMAP Stacking Note
This recipe is designed with safe FODMAP portions. One serving includes approximately 1/2 cup carrots, 1 medium potato, and 1/4 cup parsnips - all within low FODMAP limits. The beef and herbs contain no FODMAPs. If serving with additional sides like bread or more potatoes, be mindful of total carbohydrate and FODMAP load.
Making the Perfect Gravy
The cooking liquid makes an incredible gravy. Here’s how:
Option 1: Cornstarch Slurry (Gluten-Free)
- Mix 2 tbsp cornstarch with 2 tbsp cold water
- Whisk into cooking liquid
- Cook on HIGH for 10 minutes until thickened
Option 2: Reduce on Stovetop
- Transfer liquid to a saucepan
- Simmer over medium-high heat for 15-20 minutes
- Liquid will reduce and thicken naturally
Option 3: Keep It Simple Serve the cooking liquid as-is - it’s already delicious and flavorful!
Troubleshooting
Tough meat? Cook longer. Chuck roast needs 8+ hours on LOW to break down connective tissue. It should shred easily when done.
Mushy vegetables? They’ve cooked too long. Add hardy vegetables at the beginning, but if your pot roast takes 10 hours, add vegetables in the last 4-6 hours.
Bland flavor? Season generously with salt and pepper. Taste the gravy and adjust. Don’t be afraid to add more herbs.
Too much liquid? After removing meat and vegetables, reduce liquid on HIGH uncovered for 20-30 minutes, or thicken with cornstarch.
Dry meat? You likely used a lean cut or overcooked on HIGH. Chuck roast with good marbling is key. Cook on LOW for best results.
Meal Prep & Leftovers
This pot roast is perfect for meal prep. Here’s how to use it all week:
- Day 1: Classic pot roast with vegetables and gravy
- Day 2: Shredded beef sandwiches on gluten-free buns
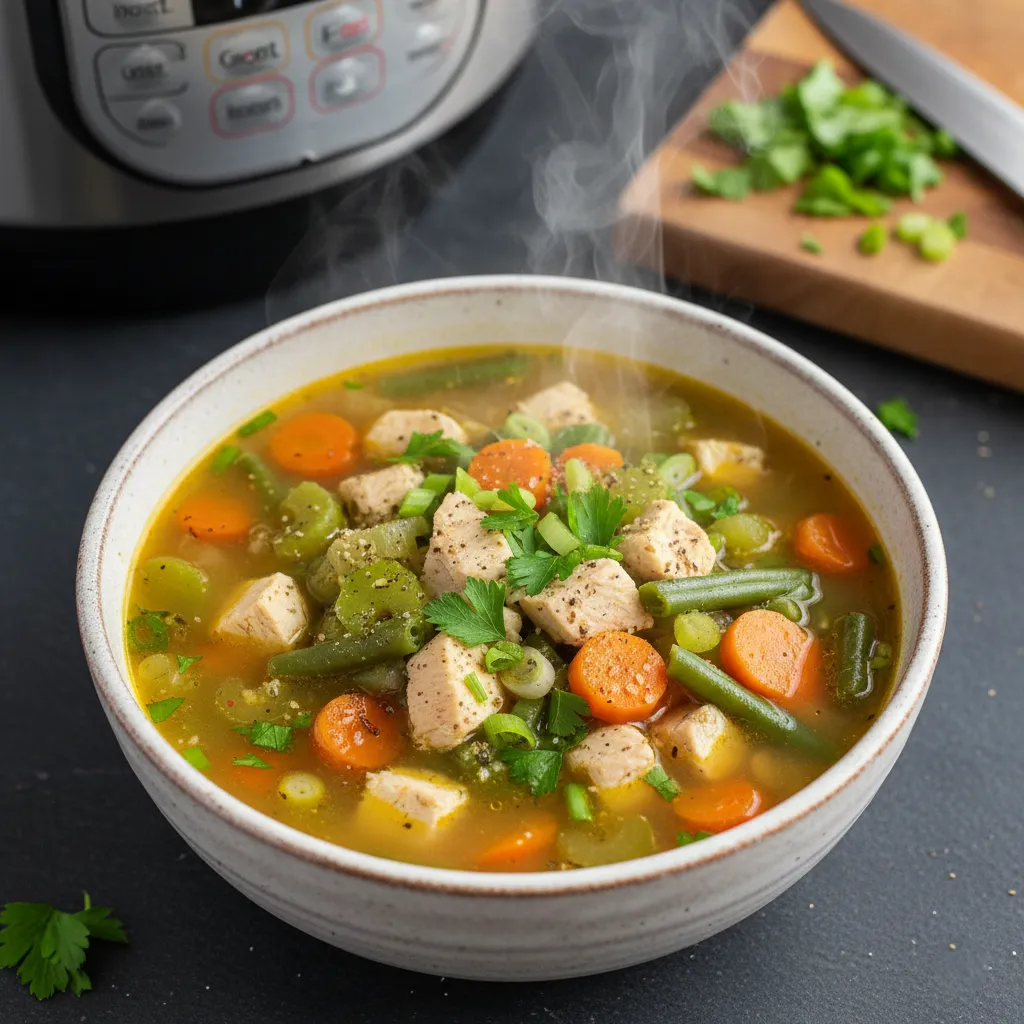
- Day 3: Beef and vegetable soup (add broth)
- Day 4: Beef hash with potatoes and eggs for breakfast
- Day 5: Beef over rice or quinoa with fresh vegetables
The Science of Pot Roast
Chuck roast is tough because it contains a lot of connective tissue (collagen). When cooked low and slow in liquid, this collagen breaks down into gelatin, which makes the meat incredibly tender and adds body to the gravy. This process takes time - at least 6-8 hours. That’s why slow cookers are perfect for pot roast. The low, steady heat over many hours transforms tough meat into something magical.
Tips from the Test Kitchen
- Always sear first: This creates a flavorful crust and adds depth to the gravy
- Use good broth: The quality of your broth matters - choose low FODMAP brands or make your own
- Don’t peek: Every time you lift the lid, you lose heat and add 15-20 minutes to cooking time
- Season generously: A 3-pound roast needs plenty of salt - don’t be shy
- Let it rest: Resting allows juices to redistribute, making every bite tender and juicy